HEART MOTIF CARDIGAN – OPEN CARDIGAN
Creating a heart motif open cardigan involves both knitting or crocheting techniques. Here is a step-by-step guide for knitting one:

Materials Needed:
- Yarn: Choose a yarn suitable for cardigans (e.g., worsted weight).
- Knitting Needles: Size appropriate for your yarn (check the yarn label).
- Heart Motif Chart: You can find these online or create your own.
- Tapestry Needle: For weaving in ends.
- Stitch Markers: To mark pattern repeats or important sections.
- Scissors: For cutting yarn.
Basic Steps:
1. Gauge Swatch:
- Knit a swatch in the chosen yarn and needles to determine your gauge (stitches per inch). This ensures the cardigan will fit as intended.
2. Measurements and Sizing:
- Measure your bust, waist, and hips. Determine the desired length of the cardigan.
- Use a cardigan pattern as a base and adjust it to include heart motifs.
3. Pattern Selection:
- Choose a basic open cardigan pattern that fits your measurements. Sites like Ravelry or Knitty have free patterns.
- Modify the pattern to include the heart motifs. You can integrate the hearts into the main body or use them as accents.
4. Heart Motif Chart:
- Find or design a heart motif chart. This will be a grid where each square represents a stitch.
- Decide on the placement of the motifs on the cardigan.
5. Knitting the Cardigan:
- Back:
- Cast on the required number of stitches for your size.
- Knit in your chosen stitch pattern (e.g., stockinette) and incorporate the heart motifs as per the chart.
- Continue knitting until you reach the desired length, shaping the armholes and shoulders
-
- according to the pattern.
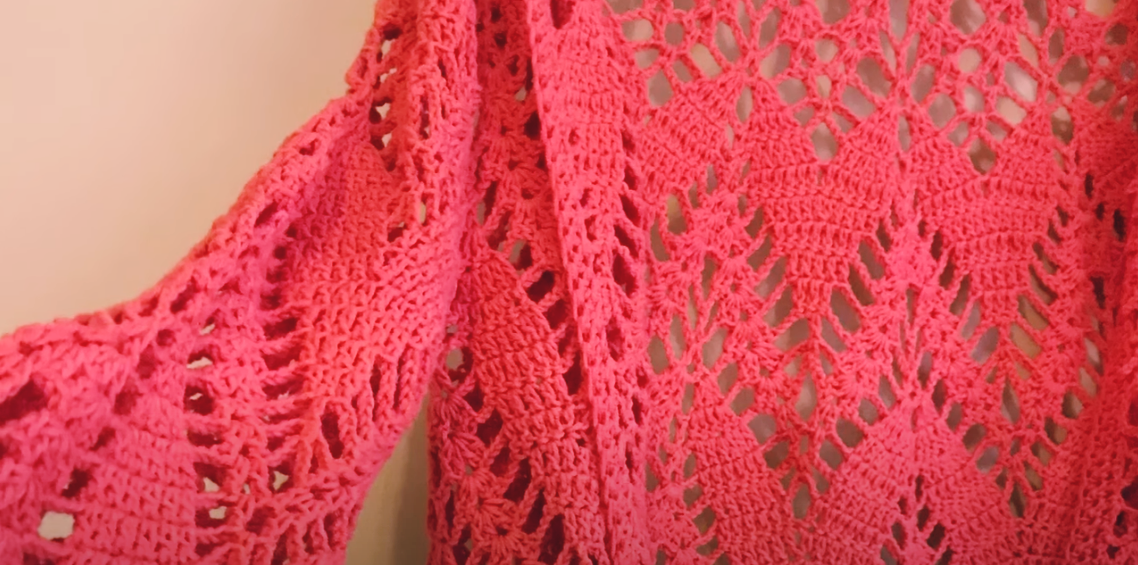
- Front Panels:
- Cast on stitches for one front panel.
- Knit, incorporating heart motifs. Repeat for the other panel.
- Shape the neckline and armholes as per the pattern.
- Sleeves:
- Cast on stitches for the sleeves.
- Knit in pattern, adding heart motifs if desired.
- Shape the sleeves according to the pattern.
- Finishing:
- Sew the shoulder seams using the mattress stitch.
- Attach the sleeves to the body.
- Sew the side seams and sleeve seams.
6. Edging:
- Pick up stitches along the front edges and neck to create a neat border. You can knit a ribbed edge or a garter stitch edge.
- Bind off loosely to ensure the edge is flexible.
7. Blocking:
- Wet block or steam block your cardigan to even out stitches and ensure it fits perfectly.
Tips:
- Heart Motifs: For a beginner, it’s easier to use a simple heart chart. Advanced knitters can try more intricate designs.
- Yarn Selection: Choose a yarn that shows stitch definition well, so the heart motifs are visible.
- Customizing Fit: You can add waist shaping or length adjustments to better fit your body.
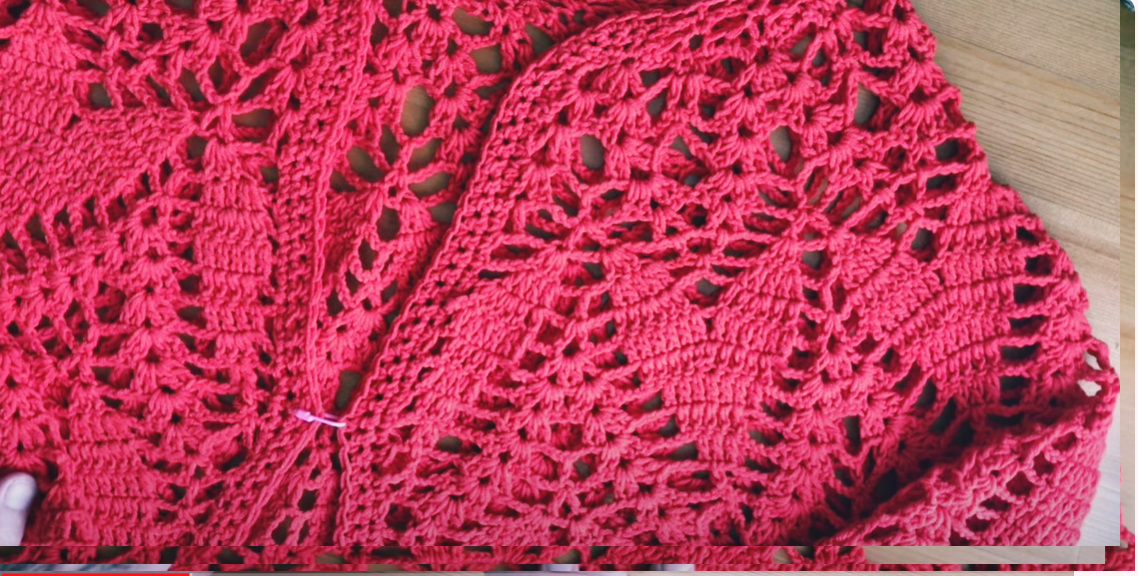
Example Heart Chart:
Each “X” represents a knit stitch in a contrasting color to form the heart shape.
By following these steps, you’ll be able to create a unique and personal heart motif open cardigan. Happy knitting!
