


How to Make Victoria Crochet Gloves / Easy Pattern Tutarial
Learn how to make Victoria crochet gloves — an elegant, lace-style hand warmer design inspired by vintage fashion. Perfect for beginners who love delicate, feminine crochet projects.
🌸 Introduction
If you’re a fan of classic handmade accessories, Victoria crochet gloves are the perfect project to add a touch of timeless elegance to your wardrobe. These lace-style hand warmers are inspired by Victorian-era fashion — delicate, romantic, and surprisingly easy to make. With this tutorial, you’ll learn how to crochet your own gloves step by step, even if you’re new to the craft.
🧵 Materials You’ll Need
Before you start, make sure you have the following supplies:
-
Fine cotton or soft acrylic yarn (size 2 or 3)
-
Crochet hook (2.0 mm – 2.5 mm)
-
Measuring tape
-
Scissors
-
Yarn needle
-
Thin satin ribbon (for decoration)
-
Optional: small pearl beads or lace trim
💡 Tip: Choose soft, light-colored yarn like cream, blush, or ivory for a true vintage Victorian look.

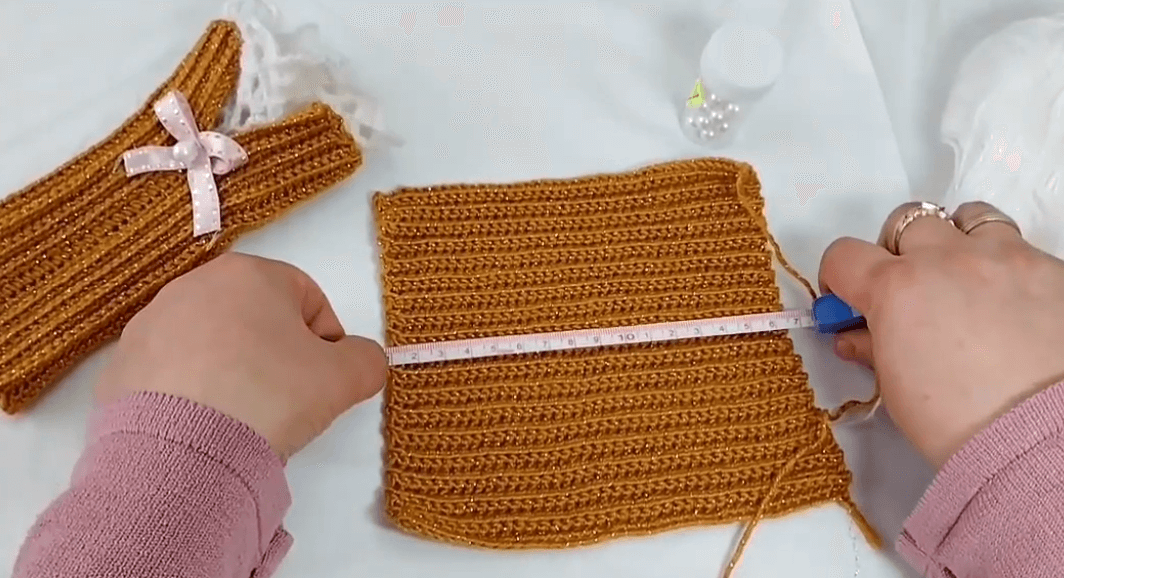
✨ Step 1: Crochet the Wrist Base
-
Measure your wrist circumference.
-
Make a foundation chain long enough to fit around your wrist — usually 30–35 stitches.
-
Join the ends of the chain with a slip stitch to create a circle.
-
Crochet half double crochets (hdc) or double crochets (dc) in each stitch around.
-
Continue for 8–10 rounds to form a comfortable cuff.
To create a ribbed Victorian effect, alternate front post and back post stitches every round.
🪡 Step 2: Build the Hand Section
-
After finishing the wrist area, continue crocheting in the round for 5–6 more rows.
-
To make the thumb opening , skip 5–6 stitches and chain the same number in their place.
-
Join with a slip stitch and continue crocheting around.
-
Work until the glove reaches just below your knuckles.
Your glove should now have a comfortable fit, with a small opening for the thumb and a snug wrist edge.
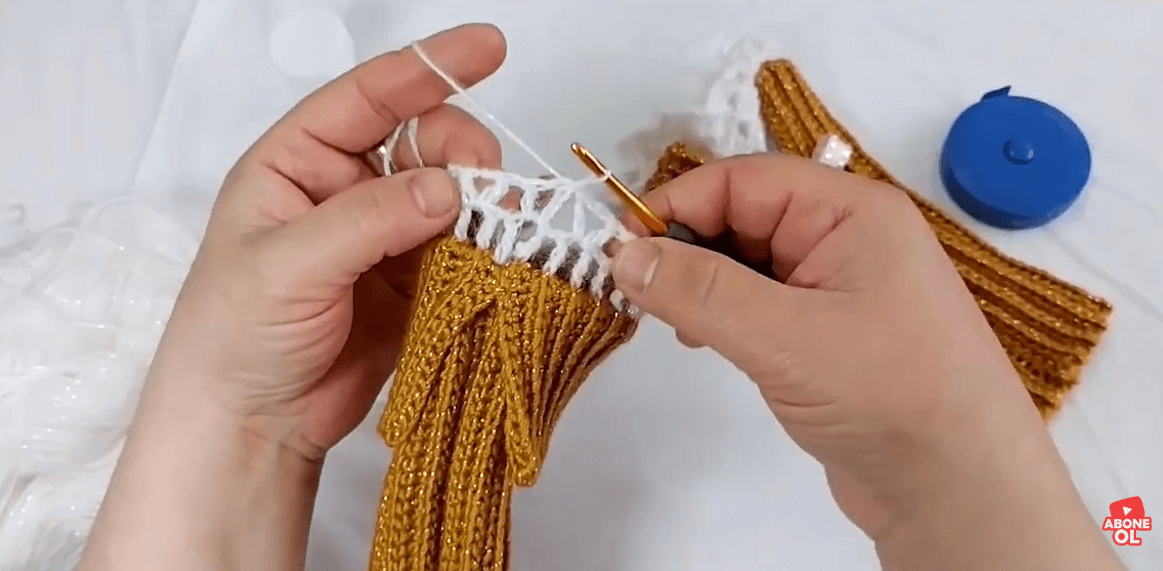
🎀 Step 3: Add the Lace Edge & Ribbon Bow
Now comes the most charming part — decoration!
-
Around the top edge of the glove, crochet shell stitches (5 dc in one stitch, skip 2, repeat).
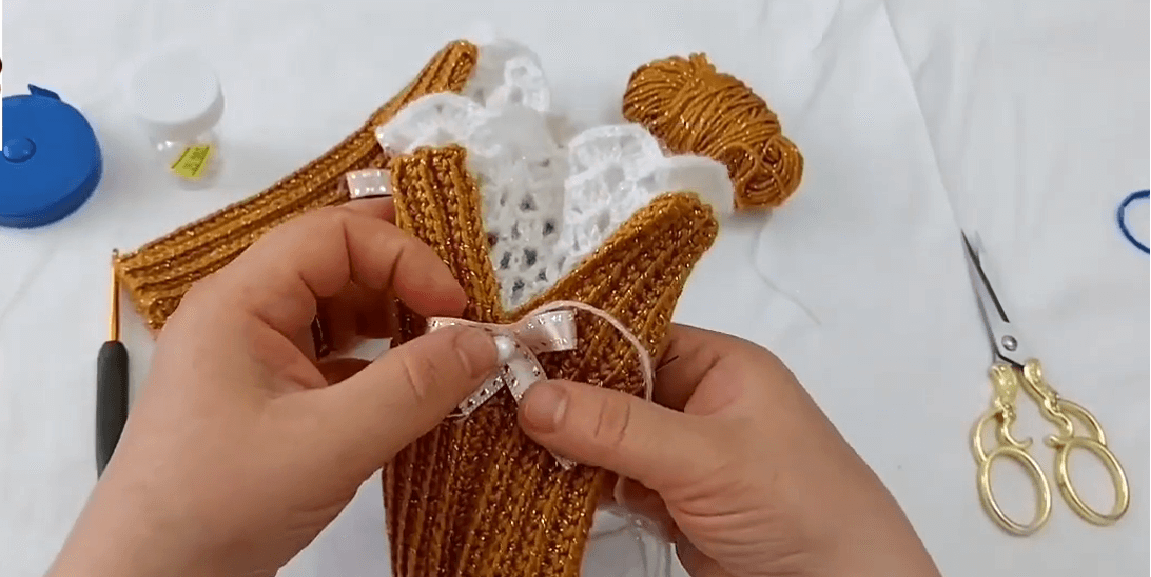
-
Weave a thin satin ribbon through the stitches near the wrist.
-
Tie the ribbon into a small bow and secure it with a few stitches or fabric glue.
-
Optionally, sew a small pearl or bead in the center of the bow for a refined Victorian finish.
This simple detail transforms your gloves from plain to elegantly vintage .
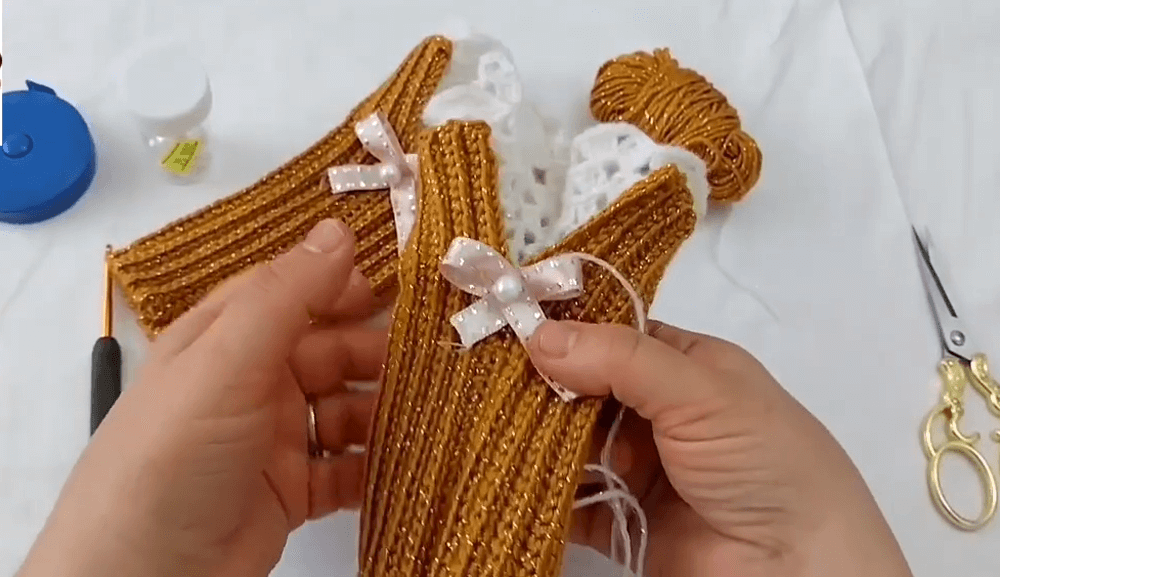
🧤 Step 4: Crochet the Second Glove
Repeat the same process for the second hand. Make sure both gloves match in size and pattern.
Once finished, gently block (shape) them by spraying with water and letting them dry flat.
This helps the lace stitches open beautifully and gives the gloves a professional look.
💖Why You’ll Love This Crochet Project
-
🪶 Beginner-friendly: Simple stitches, minimal shaping.
-
🎀 Timeless design: Inspired by Victorian lace fashion.
-
🧶 Customizable: Add beads, lace, or colored ribbon for a personal touch.
-
💝 Gift-worthy: Perfect handmade gift for weddings, birthdays, or holidays.
🌷 Care Instructions
Hand wash gently in cold water using mild detergent.
Lay flat to dry and reshape if necessary. Avoid wringing or hanging to preserve the delicate lacework.
✨Conclusion
These Victoria crochet gloves combine beauty, elegance, and a touch of nostalgia. Whether you’re making them for yourself or as a heartfelt handmade gift, they’re sure to become a favorite accessory.
With a little yarn, creativity, and patience, you can create gloves that look like they belong in a vintage fashion collection — delicate, graceful, and 100% handmade.
full video tutorial:
How to Make Victoria Crochet Gloves / Easy Pattern Tutarial


[…] How to Make Victoria Crochet Gloves / Easy Pattern Tutarial […]
Comments are closed.