Crochet Patterned Fingerless Gloves Making
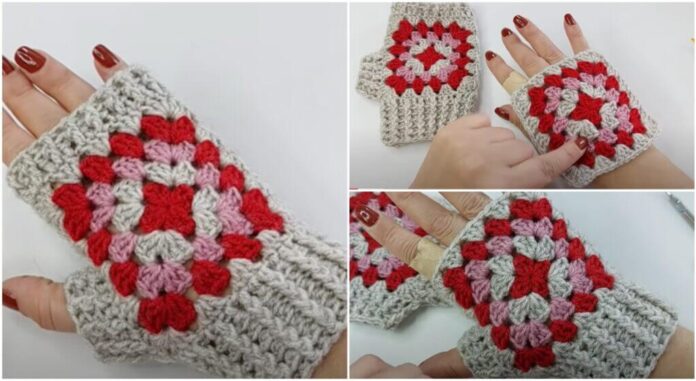
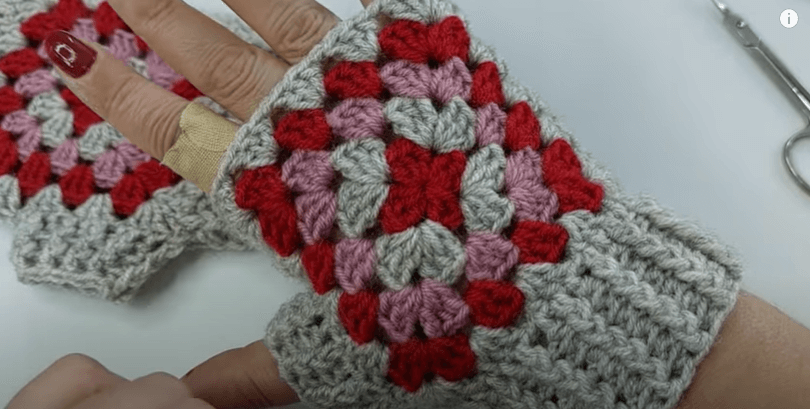
Creating crochet patterned fingerless gloves can be a fun and rewarding project for crafters of all skill levels. Fingerless gloves are not only stylish but also practical, as they keep your hands warm while allowing your fingers to remain free for tasks like typing, texting, or crafting. Below is a basic crochet pattern to make a pair of patterned fingerless gloves. You can customize the colors and stitches to suit your preferences.
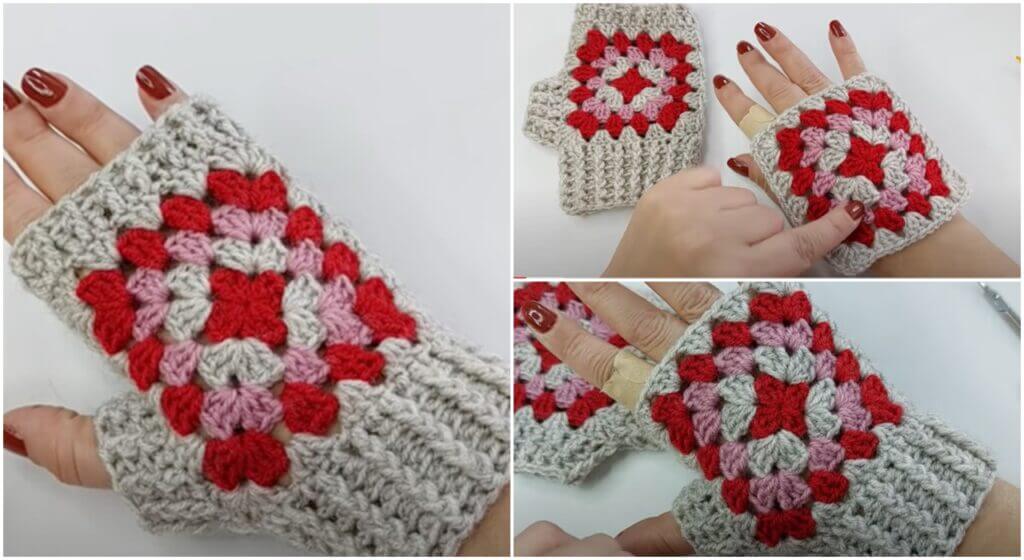
Materials Needed:
-
Worsted weight yarn in your choice of colors
-
Crochet hook size appropriate for your yarn (usually between H/8 – 5.0mm and J/10 – 6.0mm)
-
Scissors
-
Yarn needle
-
Stitch markers (optional)
Abbreviations:
- Ch: Chain
- SC: Single Crochet
- DC: Double Crochet
- HDC: Half Double Crochet
- Sl St: Slip Stitch
- St(s): Stitch(es)
- FLO: Front Loop Only
- BLO: Back Loop Only
Pattern:
Glove Body (make 2):
- Start by making a foundation chain of 30 chains. Adjust the length to fit your wrist circumference if needed. The number of chains should be a multiple of 2 for an even stitch count.
- Join the last chain to the first chain with a slip stitch to form a ring. Be careful not to twist the chain.
- Round 1: Ch 1, SC in each chain around. Join with a slip stitch to the first SC. (30 SC)
- Round 2: Ch 2 (counts as first DC), DC in the same stitch and in each stitch around. Join with a slip stitch to the top of the beginning Ch 2. (30 DC)
- Rounds 3-4: Repeat Round 2.
- Round 5: Ch 1, HDC in the same stitch and in each stitch around. Join with a slip stitch to the first HDC. (30 HDC)
- Rounds 6-15: Repeat Round 5 or continue until the desired length is reached for your gloves. You can adjust the length to cover more or fewer fingers as you like.
-
Fasten off and weave in any loose ends.
Thumb Hole:
- Turn the glove inside out.
- Count approximately 5-6 stitches from the edge of the glove on one side to create the thumb hole. Use stitch markers or keep track of the stitches.
- Join your yarn in the designated stitch with a slip stitch.
- Ch 1, SC in the same stitch and in the next 5-6 stitches, depending on the size of the thumb hole you desire.
- Ch 1, turn, and work SC in each stitch across.
- Repeat Step 5 for 2-3 rows or until the thumb hole is the desired length.
- Fasten off and weave in any loose ends.
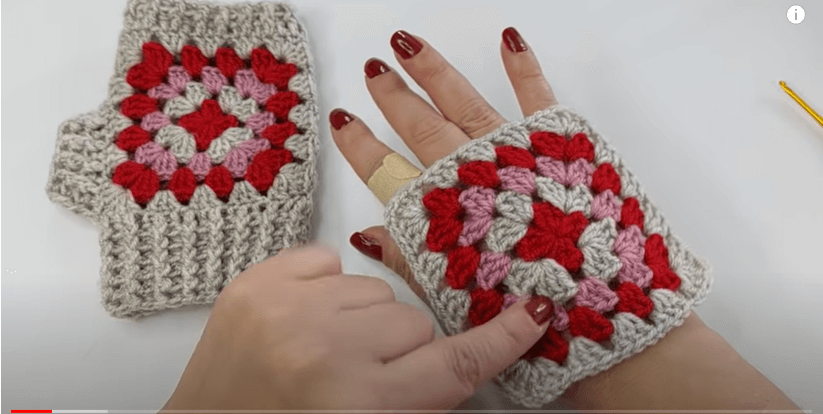
Finishing:
- Turn the gloves right side out.
- Optionally, add any embellishments or decorative stitches to the cuffs or thumb hole area.
- Repeat the entire process for the second glove.
Once you’ve completed both gloves, you’ll have a stylish pair of patterned fingerless gloves to wear or give as a gift. Feel free to experiment with different yarn colors, stitch patterns, and embellishments to create unique and personalized gloves.
