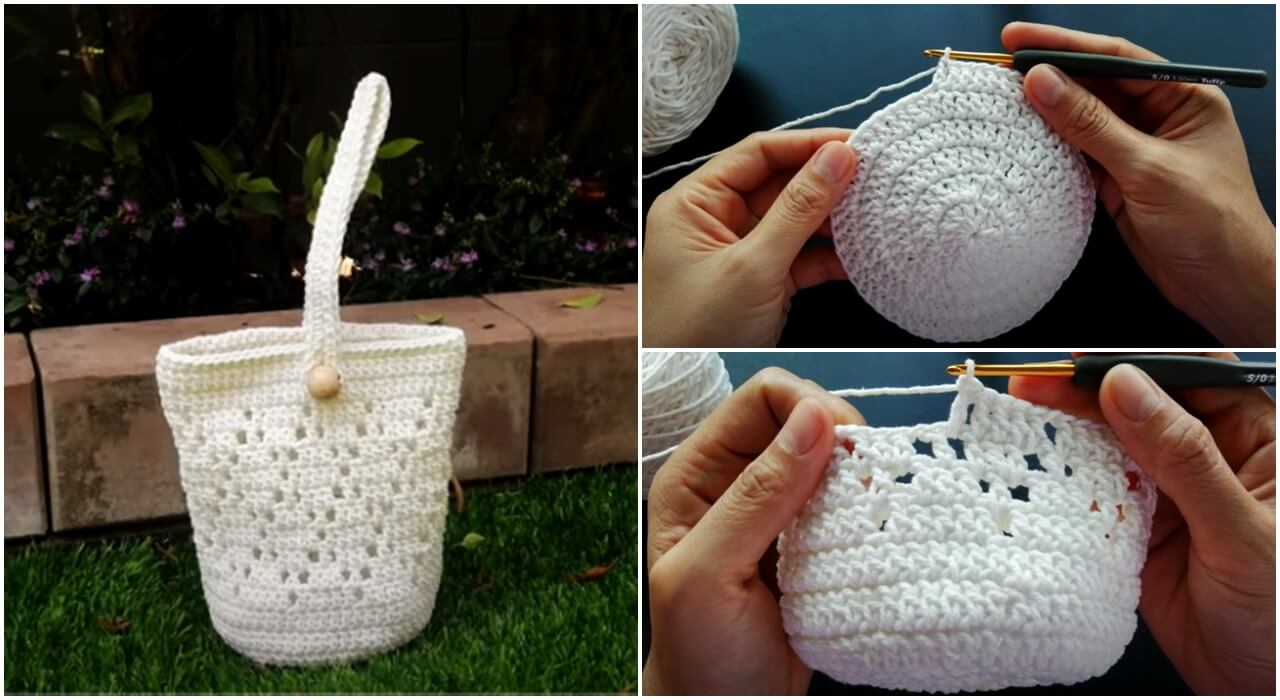
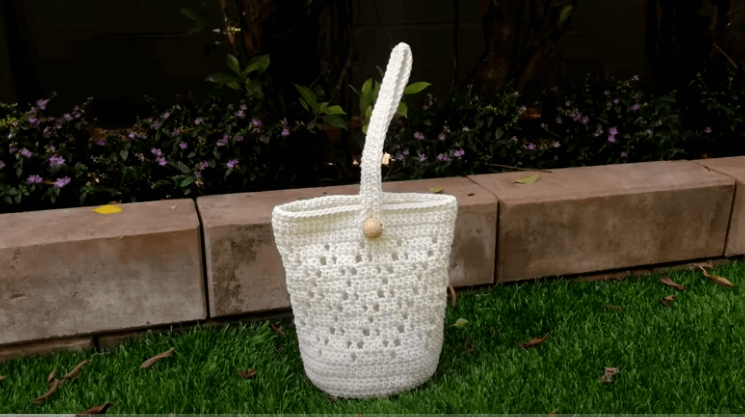
DIY Tutorial | How to crochet bag
Certainly! Crocheting a bag can be a fun and rewarding DIY project. Below is a basic tutorial to help you get started on making your own crocheted bag.

Materials Needed:
- Crochet yarn (Choose a yarn that suits your desired bag size and durability)
- Crochet hook (Size appropriate for the yarn you’ve chosen)
- Stitch markers
- Scissors
- Yarn needle
- Button or snap (for closure, optional)
- Lining fabric (optional)
Instructions:
1. Choose your yarn and hook:
- Select a yarn that suits your taste and purpose. For a sturdy bag, you might want to use a cotton or acrylic yarn.
- Choose a crochet hook size that complements your yarn. You can find recommended hook sizes on the yarn label.
2. Gauge and Measurements:
- Make a small swatch to check your gauge. This step is important to ensure that your finished bag will be the size you desire.
- Measure the width and height you want for your bag. Keep in mind that the actual size may vary depending on your gauge.

3. Start with the Base:
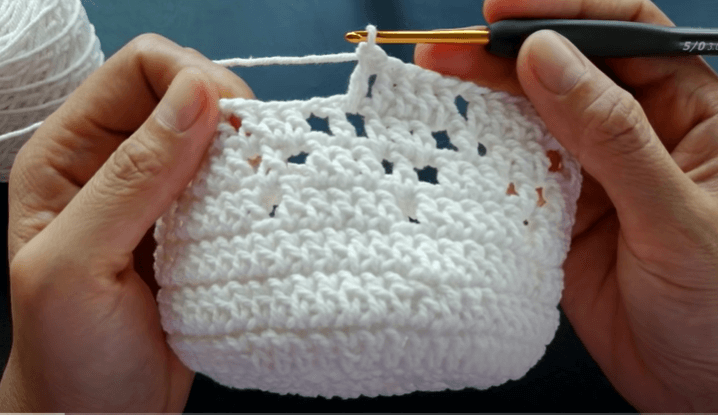
- Begin by crocheting a foundation chain. The length of your chain will determine the width of the bag.
- Work single crochet (sc) stitches in the second chain from the hook and in each chain across. This will form the base of your bag.
4. Build the Sides:
- Continue working in rounds or rows, depending on your design preference.
- You can experiment with different stitches like half double crochet (hdc) or double crochet (dc) to add texture.
- Use stitch markers to keep track of the beginning of each round or row.
5. Shape and Design:
- If you want a simple tote, you can continue working in a spiral until the bag reaches your desired height.
- Experiment with color changes or stitch variations to add visual interest.

6. Handles:
- Decide on the placement and size of your handles. You can make single long handles or two shorter ones.
- Work your way to the handle locations, then chain the desired length for the handle, skip a certain number of stitches, and continue crocheting.
- Reinforce the handles by crocheting several rows around the chains.
7. Finishing Touches:
- Once your bag is the desired size, fasten off the yarn and weave in the loose ends.
- Attach a button or snap for closure if desired.
- Optionally, add a fabric lining to the inside of the bag for a polished look.
8. Blocking (Optional):
- If your bag has a tendency to curl or if you want a neater finish, consider blocking. Wet your bag, shape it, and let it dry.
Congratulations, you’ve crocheted your own bag! Feel free to customize the tutorial based on your preferences, and don’t hesitate to experiment with different yarns, colors, and stitches to make your bag unique.
VİDEO TUTORİAL :
Very Easy Bag Knitting Pattern


