


Crochet Baby Booties Tutorial – Step by Step for Beginners
There’s something truly special about handmade baby items — they carry love, care, and creativity in every stitch. Among all baby crochet projects, baby booties are one of the most beloved. They’re quick to make, endlessly customizable, and perfect as thoughtful gifts for newborns.
In this guide, we’ll walk you through an easy crochet baby booties tutorial, complete with a striped pattern and simple stitches. Whether you’re a beginner or a seasoned crocheter looking for a relaxing project, this pattern will help you create soft, stylish, and comfortable booties that babies (and parents!) will adore.
💜 Why Crochet Baby Booties?
Crochet baby booties combine charm and practicality. They keep tiny feet warm, complement adorable outfits, and make ideal keepsakes. Unlike mass-produced baby shoes, handmade booties can be personalized in size, color, and texture — a little piece of art for every baby.
Plus, crochet baby booties are a great way to practice fundamental stitches like single crochet and half double crochet. They don’t take much yarn or time, so you can easily experiment with color changes, stitch variations, and decorative elements.
🧵 Materials You’ll Need
Before we dive into the steps, gather your supplies. You don’t need much to get started:
-
Yarn: Two contrasting colors of soft baby yarn (cotton or baby acrylic work best)
-
Hook: 3.0 mm or size recommended for your yarn
-
Yarn needle: For weaving in ends and seaming
-
Scissors
-
Stitch markers (optional): To keep track of rounds or decreases
💡 Tip: Choose hypoallergenic yarns that are soft, washable, and gentle on delicate baby skin. Cotton yarn gives a breathable finish, while acrylic yarn offers stretch and warmth.
🪡 Basic Stitches and Abbreviations
Don’t worry if you’re a beginner — this project only requires a few basic stitches:
-
ch: chain
-
sc: single crochet
-
hdc: half double crochet
-
dec: decrease (crochet two stitches together)
-
sl st: slip stitch
If you already know how to chain and single crochet, you’re good to go!
👣 Step-by-Step Crochet Baby Booties Pattern
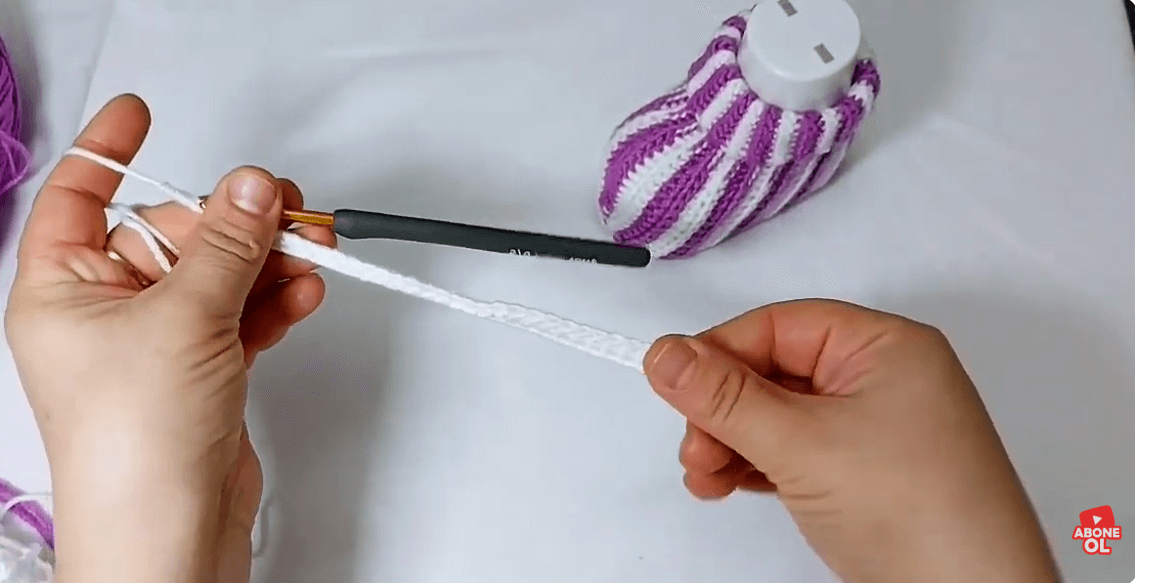
Step 1: Create the Base (Sole)
Start with a foundation chain according to the size you want (usually 28–32 chains for newborns). This will determine the length of the bootie sole.
Work single crochet stitches along the chain, adding a few increases at the ends to round the shape. Continue working in rounds for about 2–3 rows until you get an oval base that fits the desired foot length.
Step 2: Build the Sides
Once the sole is done, begin forming the sides of the bootie. Work one round of single crochet in the back loops only — this creates a nice edge and helps the sole curve upward.
Continue crocheting in rows or rounds (depending on your pattern) for a few rows to give the bootie height.
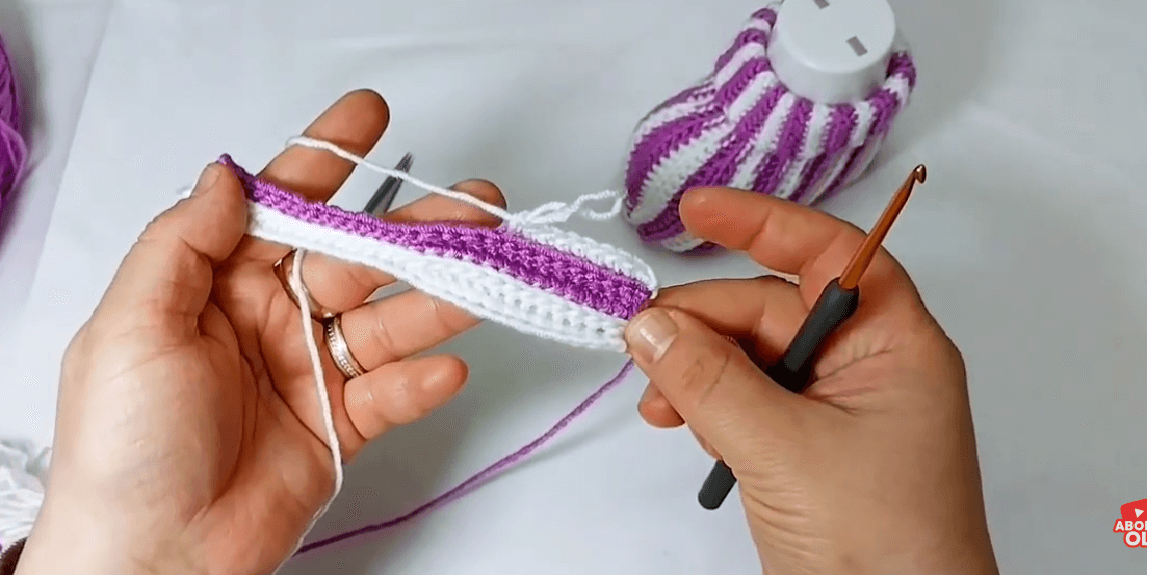
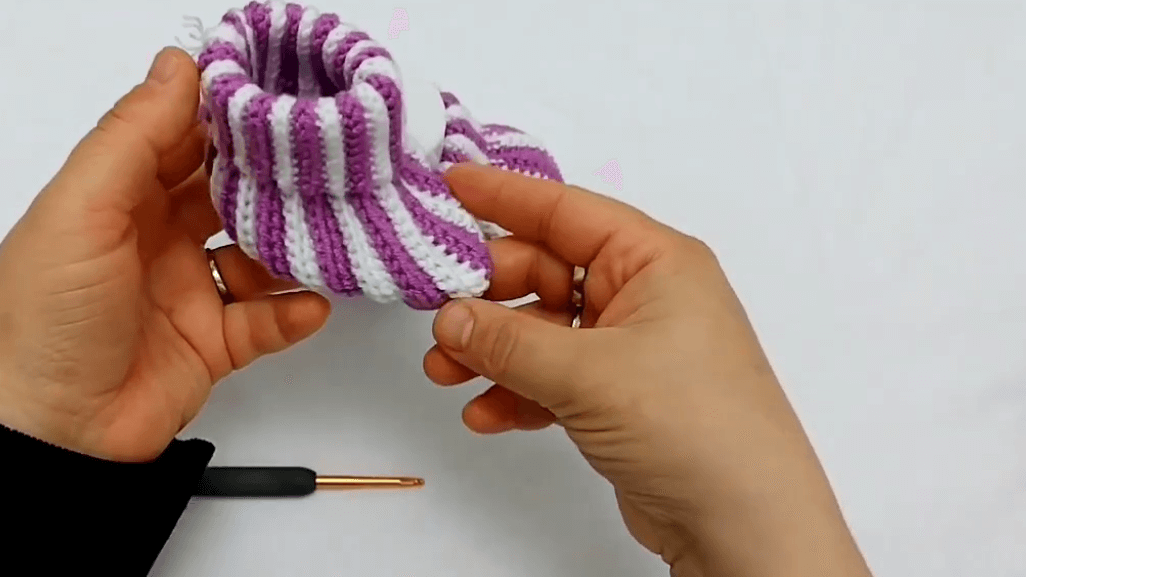
Step 3: Add Stripes
To achieve the striped look seen in the tutorial, alternate your two colors every row. Change colors by finishing the last stitch of the previous row with the new color.
This technique creates clean transitions and gives your baby booties a professional, polished appearance.
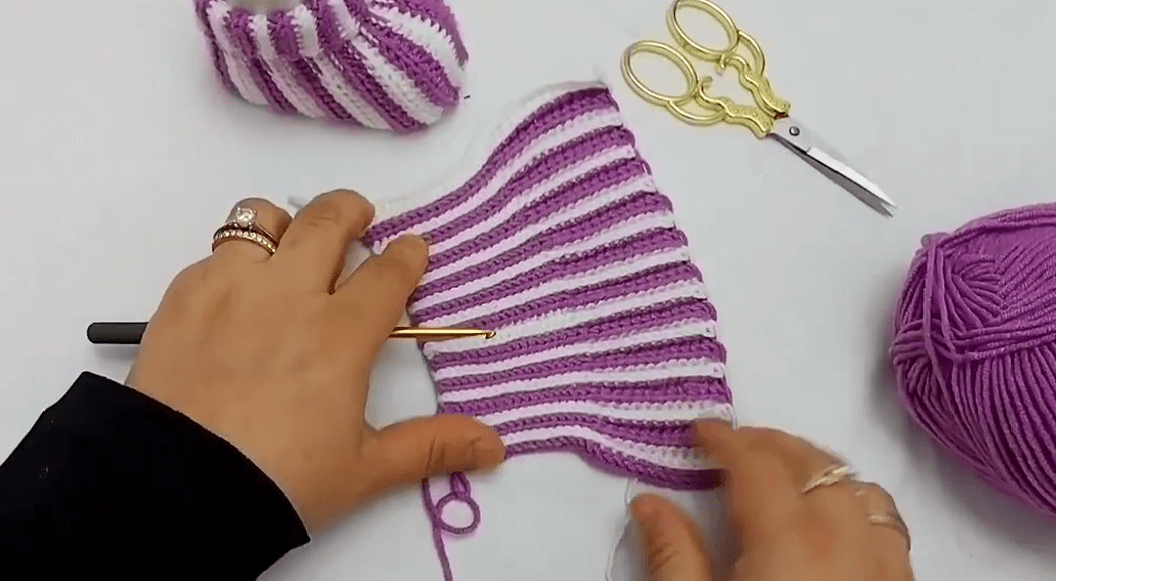
Step 4: Shape the Top
Now it’s time to shape the upper part of the bootie. You’ll start decreasing stitches at the center front (toe area).
For example, crochet halfway across the row, then make a few decreases in the middle before finishing the row. Repeat this for 3–4 rows until you have a gentle curve.
This section gives the bootie that classic snug fit around the baby’s foot.
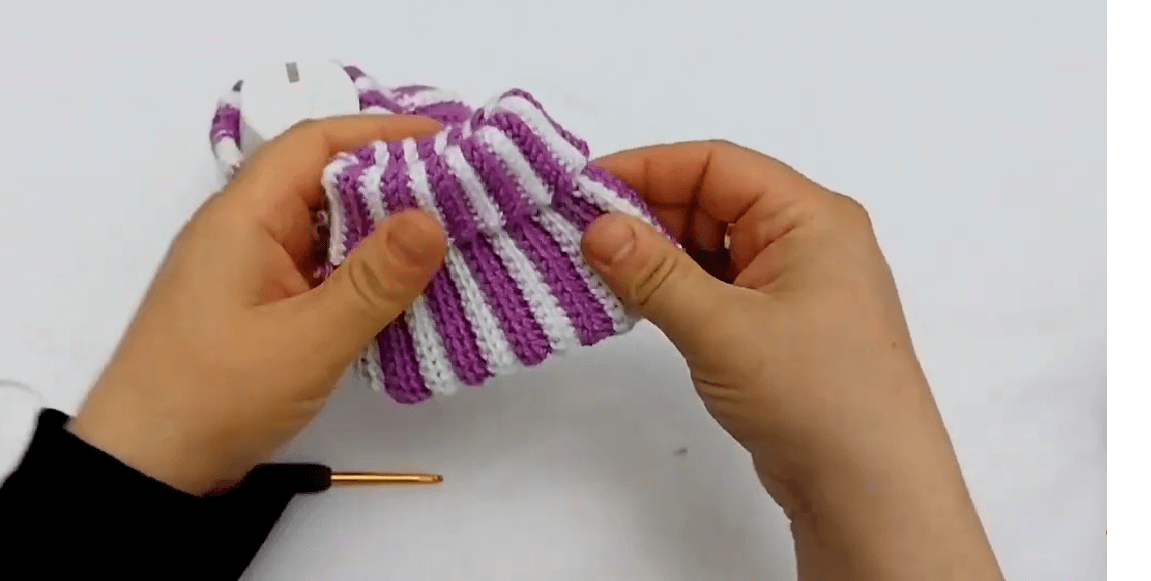
Step 5: Fold and Sew
Once your rectangular piece is ready, fold it in half (right sides together). Sew or slip stitch the edges along the back and top to close the shape. Turn the bootie right side out — you’ll now see your beautiful striped texture!
Step 6: Finishing Touches
Weave in all loose ends carefully with your yarn needle. You can also decorate your booties with:
-
Tiny bows or ribbons
-
Crochet flowers
-
Small buttons (only if securely attached and baby-safe)
📏 Size Guide (Approximate Measurements)
| Baby Age | Sole Length | Chain Foundation |
|---|---|---|
| Newborn (0–3 mo) | 8–9 cm | 28–32 ch |
| 3–6 months | 9–10 cm | 34–38 ch |
| 6–9 months | 10–11 cm | 40–44 ch |
| 9–12 months | 11–12 cm | 46–50 ch |
Adjusting the size is simple — just increase your starting chain or add an extra round to the sole. Always measure as you go for the best fit.
💬 Common Questions About Crochet Baby Booties
Q: How long does it take to make a pair of baby booties?
A: For beginners, it takes about 1.5 to 2 hours. Once you get used to the pattern, you can finish a pair in under an hour.
Q: Can I sell my finished booties?
A: Absolutely! Handmade crochet baby booties are popular at craft fairs and online shops like Etsy. Just remember to use your own photos and mention that it’s a handmade product.
Q: Can I use different stitches or yarn weights?
A: Yes! This pattern is flexible. Try replacing single crochet with half double crochet for a softer texture, or use thicker yarn for bigger booties.
Q: Are these suitable for newborns?
A: Yes — as long as you use soft, safe, non-irritating yarns. Avoid anything with detachable parts like buttons unless securely fastened.
🎁 Perfect Gift Idea
Crochet baby booties make excellent handmade gifts for:
-
Baby showers
-
Christenings or naming ceremonies
-
First photo sessions
-
Holiday keepsakes
You can even make a full matching baby set — add a hat, mittens, or a blanket in the same colors to complete the look.
❤️ Final Thoughts
Learning to crochet baby booties is not only rewarding but also relaxing. Each pair carries warmth, comfort, and a personal touch that no store-bought shoes can match.
This step-by-step crochet baby booties tutorial gives you all the basics — from foundation chains to finishing touches. Once you master this simple striped version, you can explore endless variations: lacy booties, animal-themed designs, or booties with buttons and ties.
Crochet is more than just a craft; it’s a creative expression of love. So pick up your hook, choose your favorite colors, and start making tiny treasures that will warm little feet and hearts alike. 💕
click video tutorial :
Crochet Baby Booties Tutorial – Step by Step for Beginners


