Phone Bag Knitting Pattern You’ll Love
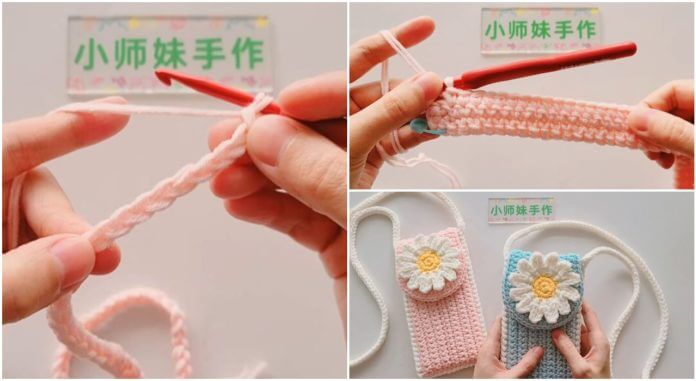
Knitting a phone bag can be a fun and practical project, and there are various patterns you can choose from to create a bag that suits your style and preferences. Below is a simple phone bag knitting pattern that you might love. You can customize it with your favorite colors and embellishments.
Materials You’ll Need:
- Worsted weight yarn in the colors of your choice
- Knitting needles (size US 8 or appropriate size for your yarn)
- Tapestry needle for weaving in ends
- Button or toggle for closure
- Stitch markers (optional)
Abbreviations:
- K: Knit
- P: Purl
- CO: Cast On
- BO: Bind Off
- St(s): Stitch(es)
- Rep: Repeat
Phone Bag Pattern:
Instructions:
1. Cast On:
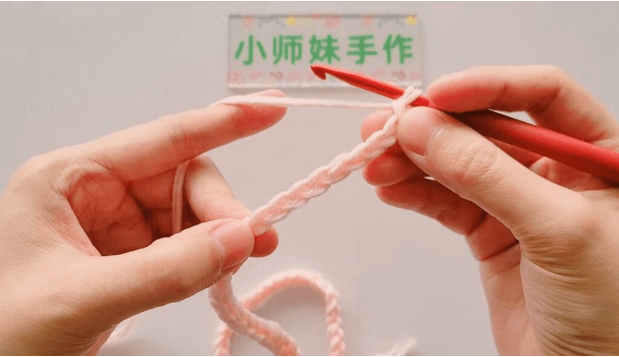
Cast on 28 stitches (or adjust the number of stitches to fit your phone). You can use any cast-on method you prefer.
2. Garter Stitch Base:
Row 1: Knit all stitches.
Row 2: Purl all stitches.
Repeat these two rows until your work measures approximately the length of your phone.
3. Stockinette Stitch Body:
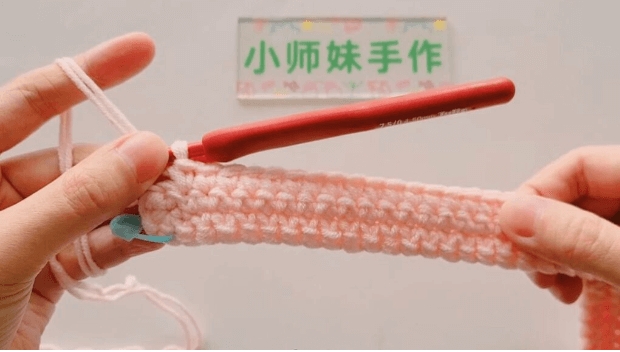
Work in stockinette stitch (knit one row, purl one row) until your work measures the desired height for your phone bag. You can add a few extra rows for the flap if you want.
4. Flap: To create the flap that folds over your phone, work the following pattern rows:
Row 1 (Right Side): K14, turn. Row 2 (Wrong Side): P14, turn.
Repeat Rows 1 and 2 until the flap is the desired length. You can adjust the number of rows to accommodate your button or toggle closure.
5. Buttonhole (on the last RS row of the flap): K1, YO, K2, K2tog, K to end of row.
6. Flap Decrease (on the next WS row): Purl all stitches.
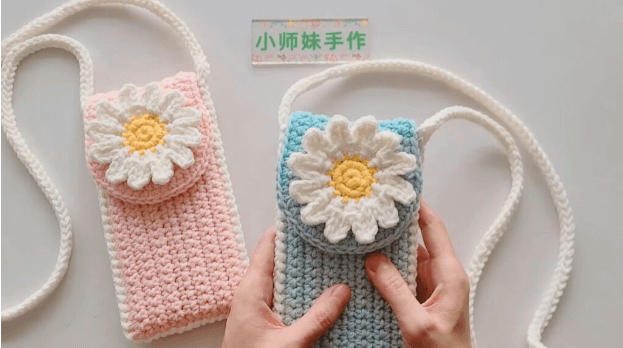
7. Continue Flap: Repeat Rows 1 and 2 of the flap pattern until you’re satisfied with the length.
8. Bind Off: Bind off all stitches loosely. Make sure your flap is long enough to fold over your phone and secure it with a button or toggle.
9. Assembly: Fold the stockinette stitch body in half, right sides facing, and sew up the side seams, leaving the flap open. Weave in any loose ends.
10. Closure: Attach your button or toggle to the front of the flap, aligning it with the buttonhole you created. Make sure it’s secure.
11. Finishing: Give your phone bag a light steam block to flatten and shape it.
Your phone bag is now ready to use. It’s a simple and customizable pattern that allows you to knit a practical accessory to keep your phone safe and stylish. You can embellish it further with embroidery, beads, or other decorative elements if desired. Enjoy your knitting!
Click here for a video tutorial of this pattern


