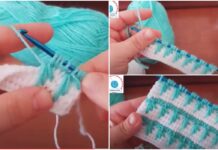
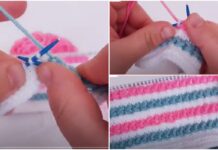
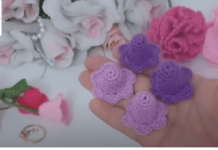
Try making a very enjoyable crocheted mini bag keychain.
Certainly! Crocheting a mini bag keychain is a fun and quick project. Here’s a simple pattern to create a cute crocheted mini bag keychain:
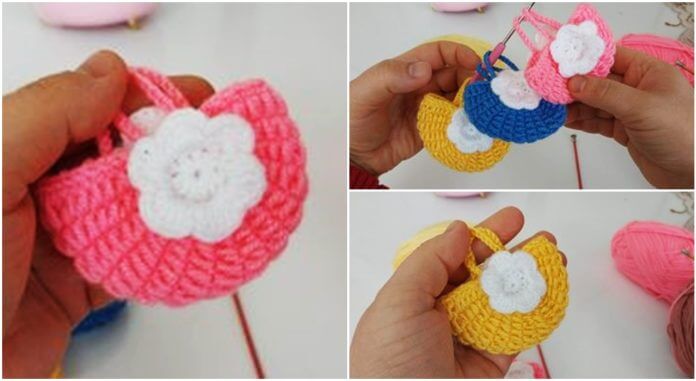
Materials:
- Worsted weight yarn in your favorite color
- Crochet hook suitable for the yarn (e.g., 4.0mm)
- Keychain ring
- Yarn needle
- Scissors

Instructions:
- Base of the Bag: Start by chaining 10.
- Rows 1-12: Single crochet in the second chain from the hook and in each chain across. (9 stitches in each row)
- Handles: After completing Row 12, chain 1 and turn. Single crochet in the first 4 stitches, chain 1, and turn. Repeat for 8 rows.
- Finish Handles: Fasten off after completing the handles.
- Assembly: Fold the rectangle in half, bringing the short edges together. Join the sides with single crochet stitches, leaving the top open. Fasten off and weave in the ends.
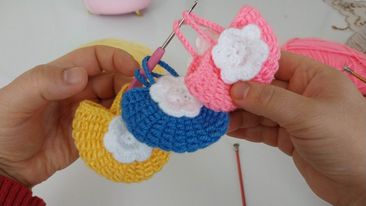
6.Keychain Ring: Attach the keychain ring to one corner of the bag by weaving it through a stitch. Secure it with a knot.
7.Optional: Embellishments: You can add a button or a small bow to decorate your mini bag keychain. Sew it securely in place.
8.Optional: Lining (for a neater finish): If you prefer, you can cut a small piece of fabric and sew it inside the bag to create a lining.
Your crocheted mini bag keychain is now ready! You can experiment with different colors, stitches, or embellishments to make it uniquely yours. It’s a great way to use up yarn scraps and create personalized gifts for friends or family.


