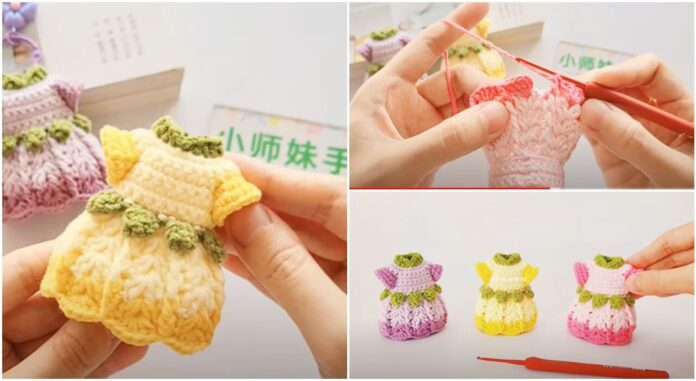
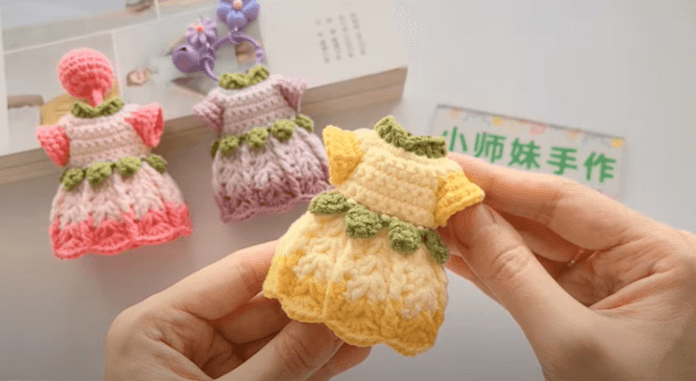
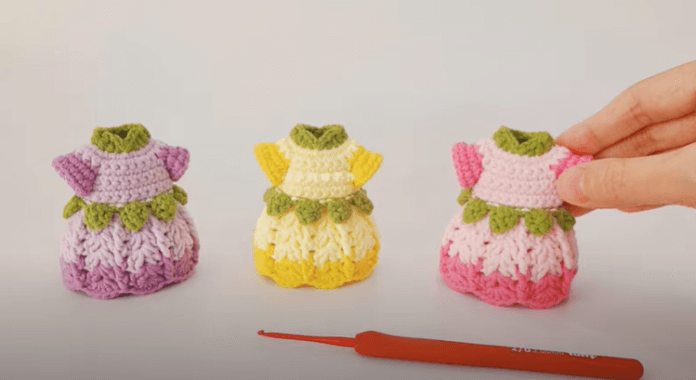
3D Making a Mini Dress Shaped Keychain
Creating a mini dress-shaped keychain involves a combination of design, modeling, and 3D printing. Here’s a basic guide to help you get started:
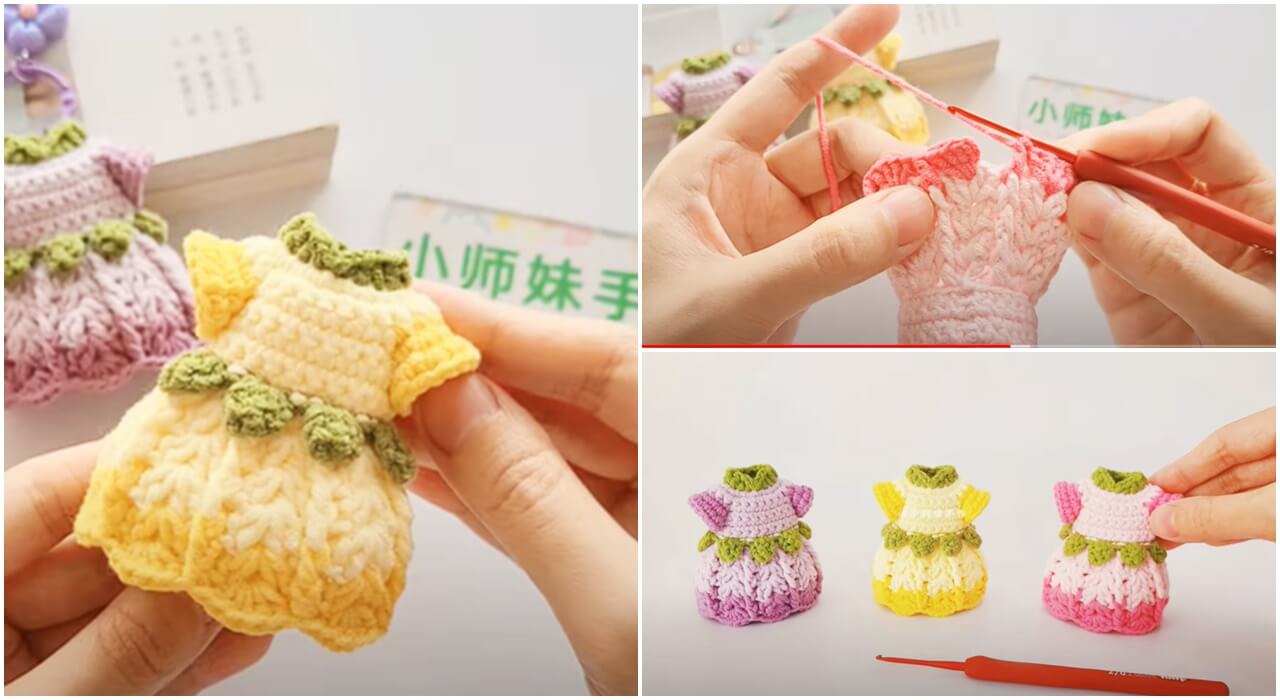
1. Design:
- Use a 3D modeling software like TinkerCAD, Fusion 360, or Blender to design the mini dress shape. Keep in mind the size limitations for a keychain.
- Sketch the outline of the dress, considering details like neckline, sleeves, and any embellishments.
- Add a small hole or loop at the top of the dress where you can attach a keyring.
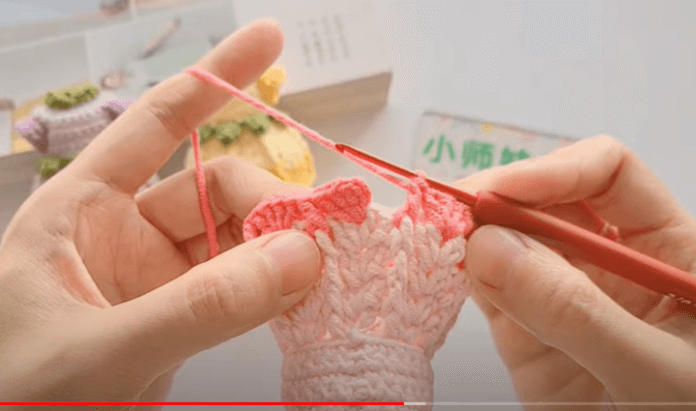
2. Modeling:
- Extrude or add volume to your 2D sketch to create a 3D model of the dress.
- Fine-tune the details and make sure the design is suitable for the size constraints of a keychain.
3. Export:
- Once satisfied with the model, export it in a format compatible with 3D printing. Common formats include STL or OBJ.
4. Slicing:
- Use slicing software like Cura or PrusaSlicer to prepare your 3D model for printing.
- Adjust settings such as layer height, infill density, and print speed based on your 3D printer’s specifications.
5. Printing:
- Load the sliced file into your 3D printer.
- Choose the appropriate material for your keychain, like PLA or PETG.
- Start the printing process and monitor it to ensure there are no issues.
6. Post-Processing:
- Once the print is complete, carefully remove any support structures if used.
- Sand the keychain to smooth out any rough edges and improve the overall finish.
- Consider painting or adding additional details using acrylic paint or markers.
7. Assembly:
VİDEO TUTORİAL :
3D Making a Mini Dress Shaped Keychain


