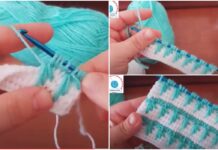
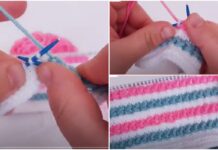
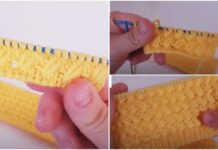
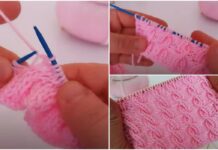
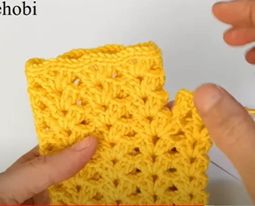
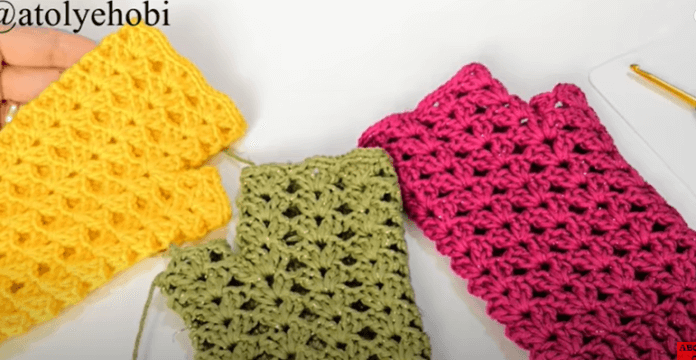
Crochet Knitting Half (Fingerless) Glove Making
Creating crochet-knit fingerless gloves can be a fun and rewarding project. Here’s a basic guide to help you get started. Note that this is a simplified pattern, and you can always customize it based on your preferences.
Materials:
- Worsted weight yarn (choose a color of your choice)
- Crochet hook appropriate for the yarn (usually between 4.0 mm to 5.5 mm)
- Yarn needle
- Stitch markers (optional)
- Scissors
Instructions:
1. Measurements:
Measure the circumference of your hand around the widest part (usually around the knuckles) and the length from the base of your palm to the desired length of the glove.
2. Foundation Chain:
Start with a foundation chain that matches the circumference of your hand. Make sure the chain is a multiple of 4. Slip stitch to the first chain to form a ring.
3. Ribbing (Cuff):
Round 1: Chain 2 (counts as a half double crochet), half double crochet in each chain around. Slip stitch to the top of the first half double crochet to join. Repeat Round 1 until the cuff reaches your desired length. The ribbing will give the glove some stretch.
4. Hand Portion:
Switch to the main stitch pattern (you can use single crochet, half double crochet, or any other stitch pattern you like).
Rounds 1-2: Half double crochet in each stitch around. Slip stitch to join.
Continue working in the main stitch pattern until the piece reaches the base of your fingers, then switch to the next step.
5. Thumb Hole:
Choose a spot where you want the thumb hole to be. This is typically on the side of the glove. Chain a number of stitches (e.g., 4-6) and skip that same number of stitches on the next round. Continue working in the main stitch pattern around.
Crochet Knitting Half (Fingerless) Glove Making
