Incredibly Super Easy Crochet Wool Rose / How to do it?
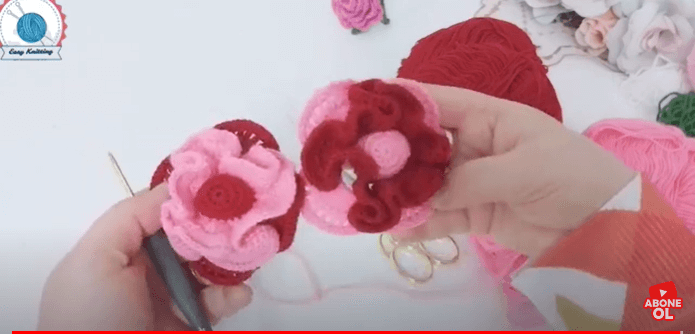
Crocheting a wool rose is a simple yet lovely project. Below are step-by-step instructions on how to create an incredibly super easy crochet wool rose:
Materials Needed:
- Worsted weight yarn in your desired rose color
- Crochet hook appropriate for your yarn weight (size G/4.00mm is a common choice)
- Yarn needle
- Scissors
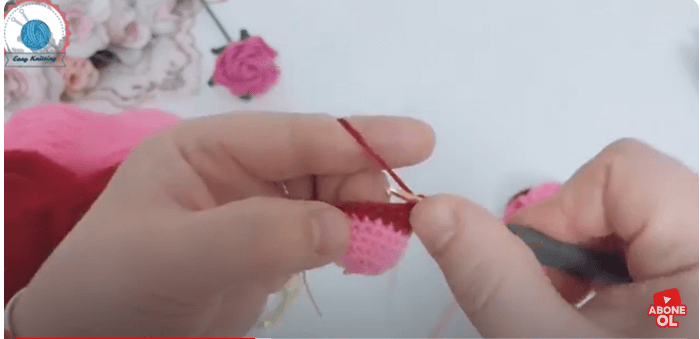
Instructions:
Step 1: Create a Slip Knot
- Start by making a slip knot with your yarn.
Step 2: Chain Stitch
- Chain 26 stitches. This will be the foundation for your rose. Adjust the number of chains if you want a larger or smaller rose.
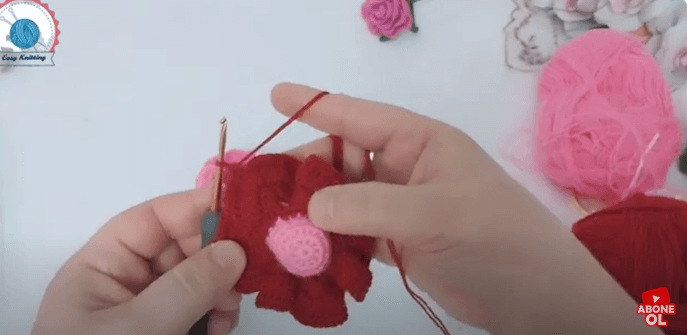
Step 3: Forming the Center of the Rose
- After chaining 26 stitches, slip stitch into the second chain from the hook to form a loop.
- Single crochet into the next chain.
- Chain 1, skip the next chain, and single crochet into the following chain. Repeat from * to * until the end of the row.
- You should have created a series of chain spaces with single crochets in between.
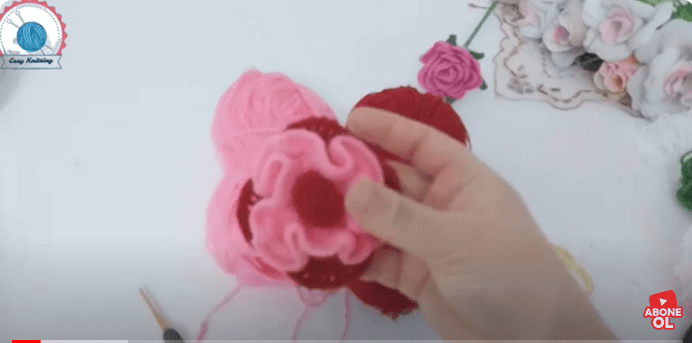
Step 4: Creating the Petals
- Once you’ve completed the first row of chain spaces and single crochets, turn your work.
- In the first chain space, single crochet, half double crochet, double crochet, triple crochet, double crochet, half double crochet, and single crochet. This creates the first petal.
- Repeat the sequence of single crochet, half double crochet, double crochet, triple crochet, double crochet, half double crochet, and single crochet in each chain space across the row, forming petals.
- After completing all the petals, fasten off the yarn, leaving a tail for sewing.
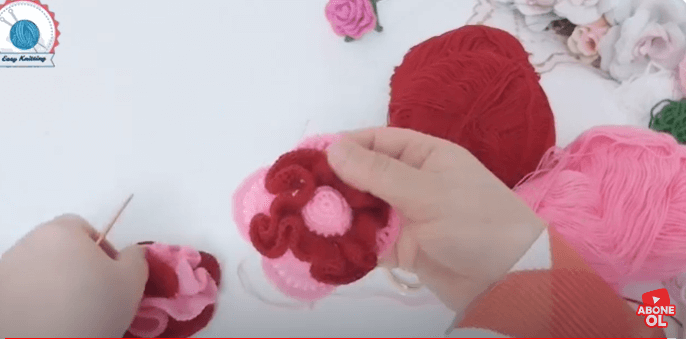
Step 5: Rolling the Rose
- Starting from the end where you finished crocheting, tightly roll the piece to form the center of the rose.
- Use the yarn tail and a yarn needle to stitch the bottom of the rose closed securely.
- You can adjust the shape and tightness of the rose as you roll it to achieve the desired look.

Step 6: Finishing Touches
- Weave in any remaining yarn tails with a yarn needle.
- Optionally, you can attach a pin or sew the rose onto another project, such as a hat or scarf, as a decorative accent.
And there you have it – a simple yet beautiful crochet wool rose! Once you’ve mastered this basic pattern, you can experiment with different yarn weights, hook sizes, and techniques to create roses of various sizes and styles.
video tutorial:
